How to Grow Microgreens at Home: A Beginner's Guide
- Bastian Tock
- Mar 4
- 4 min read

Growing microgreens at home is not only a rewarding hobby but also a way to enhance your meals with fresh, nutritious greens. These tiny plants pack a punch when it comes to flavor and health benefits, making them a popular choice for home gardeners. In this guide, we will walk you through everything you need to know to successfully grow microgreens in your own kitchen.
What Are Microgreens?
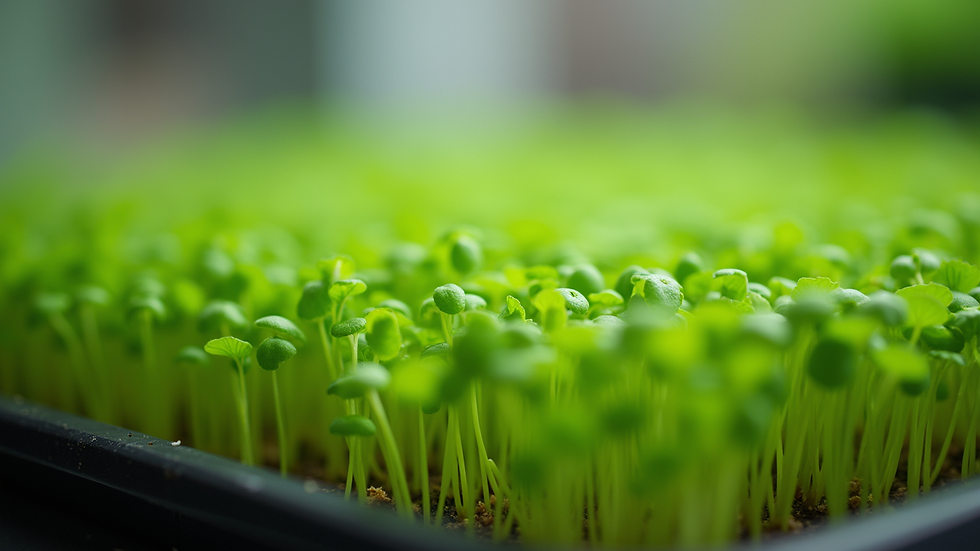
Microgreens are young plants harvested just after the first true leaves, known as cotyledons, have developed. They are typically harvested within 7 to 21 days after germination, depending on the variety. Microgreens come in a variety of flavors, colors, and textures, making them a versatile addition to salads, sandwiches, and garnishes.
Benefits of Growing Microgreens
Nutritional Value: Microgreens are often more nutrient-dense than their mature counterparts. They can contain higher levels of vitamins, minerals, and antioxidants.
Flavor Enhancement: Many microgreens have intense flavors that can elevate your dishes. For example, radish microgreens add a peppery kick, while basil microgreens offer a sweet aroma.
Space Efficiency: Microgreens require minimal space and can be grown indoors, making them ideal for small apartments or homes without gardens.
Quick Growth: With a short growth cycle, you can enjoy fresh greens in just a couple of weeks.
Choosing Your Microgreens
When starting your microgreen journey, the first step is selecting which varieties to grow. Here are some popular options:
Arugula: Known for its peppery flavor, arugula microgreens are easy to grow and add a nice kick to salads.
Basil: Sweet and aromatic, basil microgreens are perfect for Italian dishes and pesto.
Radish: These microgreens have a spicy flavor and vibrant color, making them a great garnish.
Sunflower: Nutty and crunchy, sunflower microgreens are delicious in salads and sandwiches.
Pea Shoots: Sweet and tender, pea shoots are a delightful addition to stir-fries and salads.
Supplies You Will Need
To grow microgreens at home, you will need a few basic supplies:
Seeds: Purchase high-quality seeds specifically labeled for microgreens.
Growing Medium: Options include soil, coconut coir, or hydroponic mats.
Containers: Shallow trays or containers with drainage holes work best.
Water: A spray bottle or watering can for gentle watering.
Light Source: Natural sunlight or grow lights to provide adequate light.
Step-by-Step Guide to Growing Microgreens
Step 1: Prepare Your Containers
Start by selecting your containers. If using trays, ensure they have drainage holes to prevent waterlogging. Clean the containers with warm, soapy water to eliminate any potential contaminants.
Step 2: Add Growing Medium
Fill your containers with your chosen growing medium, leaving about an inch of space at the top. Gently level the surface to create an even growing area.
Step 3: Sow the Seeds
Sprinkle the seeds evenly over the surface of the growing medium. Aim for a density that allows for good airflow but still provides coverage. For larger seeds like sunflower, you may want to soak them in water for a few hours before planting.
Step 4: Water the Seeds
Using a spray bottle, mist the seeds lightly to moisten the growing medium. Be careful not to overwater, as this can lead to mold growth.
Step 5: Cover and Germinate
Cover the containers with a lid or plastic wrap to create a humid environment for germination. Place them in a warm, dark location for 3 to 5 days until the seeds sprout.
Step 6: Provide Light
Once the seeds have germinated, remove the cover and move the containers to a well-lit area. If using grow lights, position them about 2 to 4 inches above the plants and keep them on for 12 to 16 hours a day.
Step 7: Water Regularly
Keep the growing medium moist but not soggy. Water gently to avoid disturbing the young plants. You can use a spray bottle for this purpose.
Step 8: Harvest Your Microgreens
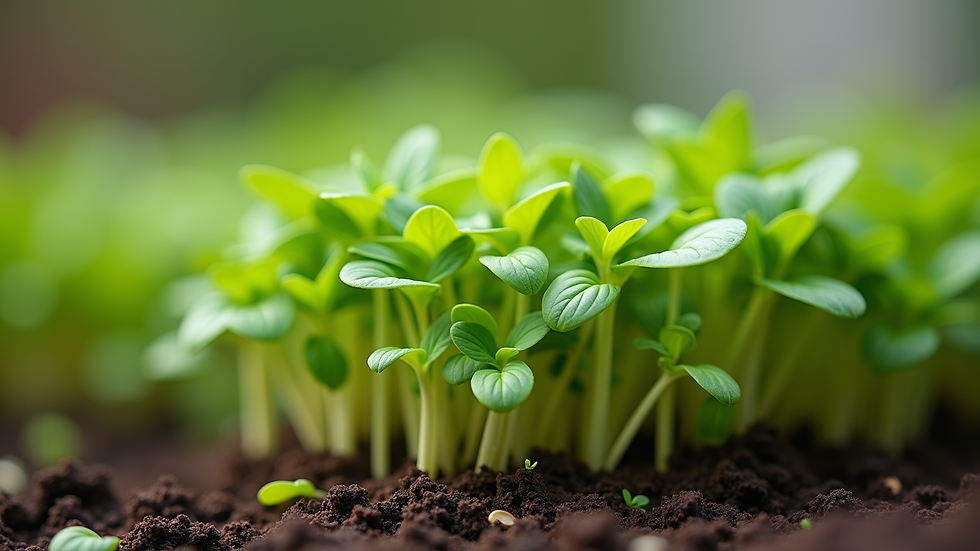
Microgreens are typically ready to harvest when they are 1 to 3 inches tall and have developed their first true leaves. Use scissors to cut them just above the soil line. Rinse them gently in cold water and pat dry before using.
Tips for Successful Microgreen Growth
Air Circulation: Ensure good airflow around your microgreens to prevent mold and disease.
Temperature: Aim for a temperature between 60°F and 75°F for optimal growth.
Experiment: Try different varieties and growing mediums to find what works best for you.
Storage: Store harvested microgreens in a sealed container in the refrigerator for up to a week.
Common Challenges and Solutions
Mold Growth
If you notice mold on your microgreens, it may be due to overwatering or poor air circulation. To prevent this, ensure you are not watering too frequently and provide adequate airflow.
Leggy Growth
If your microgreens are tall and spindly, they may not be getting enough light. Move them closer to a light source or adjust your grow lights to provide more intensity.
Pests
While pests are less common with microgreens, they can still occur. Inspect your plants regularly and remove any pests by hand. If necessary, use an organic pesticide.
Conclusion
Growing microgreens at home is a simple and rewarding process that can enhance your meals and provide fresh greens year-round. With just a few supplies and some patience, you can enjoy the benefits of these nutrient-packed plants. Start your microgreen journey today and discover the joy of growing your own food right in your kitchen!
By following this guide, you will be well on your way to becoming a microgreen expert. Remember to experiment with different varieties and growing techniques to find what works best for you. Happy growing!

Comments